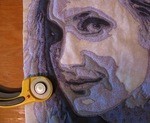
How to Create a Portrait Quilt
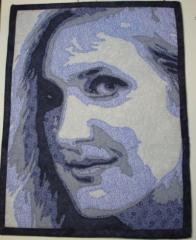
How to Create a Portrait Quilt
Lea McComas Introduces you to Portrait Quilts and how you take your own pictures and turn them into a portrait quilt.
How to Create a Portrait Quilt - Introduction
Lea McComas introduces you to her Portrait Quilts class, which shows you how to take your own pictures and turn them into a portrait quilt.
How to Create a Portrait Quilt - Lesson 01 - Which Photo?
Lea walks you through the process of selecting a photo for your portrait quilt and enlarging with at least 300 DPI (Dots Per Inch).
How to Create a Portrait Quilt - Lesson 02 - Sizing
We look over Lea's shoulder to her computer as she walks through using Photoshop to use grey scale, value, crop, and how to size the photo.
How to Create a Portrait Quilt - Lesson 03 - Start the Pattern
Lea demonstrates how to take your grey scale portrait and turn it into a pattern using freezer paper.
How to Create a Portrait Quilt - Lesson 04 - Value Scale
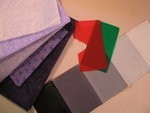
Lea discusses the tools to help with selecting five fabrics, a value scale (based on paint chips), red and green value finders, and her thoughts on texture or pattern in the fabric.
How to Create a Portrait Quilt - Lesson 05 - Freezer Paper Pattern
Lea demonstrates how to take your freezer paper pattern, iron it to your fabric, and what fusible product works best. The cut pieces are then layered and ready for assembly.
How to Create a Portrait Quilt - Lesson 06 - Adding Layers
Using a thin base fabric, Lea starts adding pattern pieces to base, layering light to dark using the original photograph as a guide.
How to Create a Portrait Quilt - Lesson 07 - Tulle Layer
Tulle is used to keep the top pieces in place and keep fraying to a minimum. With the tulle, quilt top, backing and batting together you are ready to start quilting.
How to Create a Portrait Quilt - Lesson 08 - Finishing
Lea shares getting the quilt finished and options for sleeves to hang up your quilt.


