
-
I use freezer paper, but I print the pattern out mirror image, cut it out being careful to cut just inside the lines and iron it onto the back of the background fabric. Cutting inside the lines makes sure I don't get bleedthrough onto the fabric and it accomodates that scant thing that happens in a fold. It's a little tedious, but I get real accuracy with it and the freezer paper stabilizes the fabric, so I can prep a lot of pieces ahead of time and not worry about them getting stretched out of shape and crinkled. I iron the seam allowance over the edge to the printed side of the paper with a mini-iron, using spray starch. I paint the starch onto the seam allowances only, being careful not to over saturate them, otherwise the paper gets too soggy to hold the crease.
On larger pieces, I cut the extra fabric out and take the paper out after the block is done. On smaller pieces, I take the paper out just before I applique them.
The thing I like most about this method is how it works on points. I get the fabric folded just where I need it to be on the point, so I don't have to manipulate it with the needle so much. I get nice sharp points. When there is too much fabric at the point, I sew up to the point and then open the piece and trim away some of the fabric from that seam that I've just sewn. That way I'm not working with a few threads to turn under ahead of the needle.
On inside corners I take a little stitch into the applique piece at the corner before sewing it down, like Margo suggests, to prevent freying.
I'm using this method on the vine part. Last night I spent about 2 hrs preping the piece. My kitty kept trying to help because the thing bounced around as I moved it and fascinated him, lol. It was a bit like handling tumbleweed with all the ends getting hung up on each other, but I got it done and pinned to the background fabric and it's flat, and right on to the pattern. That made me very happy
Tonight I will begin stitching. I think I will remove the paper in small sections as I go. This piece has tons of bias and removing the paper too soon would make a wonky, wobbly mess, lol. I've never done a wreath vine all in one piece like this before. It's always been bias strips. It's a challenge. But, I like that.
linny t -
Linny, Great Info! How do you print a PDF file mirror image? JudyComment
-
Thank you all soooo much for all your help, I have been practising and now feel that I can manage to do the appliques to a good standard, it was the ironing
bit that I could not seem to manage too well but that is now pretty good. I have also been trying all of the different finishes, can't seem to make up my
mind I quite like the invisible, along with the blanket stitch, my daughter likes the blanket stitch and my husband likes the invisible and then the blanket,
I like both, who knows what it will be? What are your favourites, if any? I find it most interesting that one has such a choice. Thanks again, Barbara :PComment
-
It's in my printer software under properties. I have an HP and it gives me all sorts of printing options.Originally posted by JudyFNComment
-
Prep is done for block 1. I am using some new to me products and techniques. I am hand sewing my center block.
For the vine applique I'm using C&Ts Wash Away Applique Sheets. I cut the center block the finished size and lined up both pieces of the vine to get the spacing correct. I used Margo's suggestion of marking the diagnonal with chalk to line up the pieces. I also used Elmer's washable glue to stabilize threads at deep inside curves. Margo's BOM instructions and 3 classes! in the classroom are jam packed with information.
Margo's BOM instructions learn/all-boms
Piping tutorial http://www.thequiltshow.com/os/image...ini_piping.pdf
Machine applique http://www.thequiltshow.com/os/image...e_applique.pdf
Elmer's Glue Bottle Retrofit http://www.thequiltshow.com/os/image...e_retrofit.pdf
I will be hand sewing the block down using a similar technique to Sharon Schamer http://sharonschambernetwork.com/Cla...Blue-Bird.aspx
As I cut away I'll save the scraps for later blocks. See my post here for practice experience:
http://forum/ruffled-roses-2011/4181...-1-vine-center
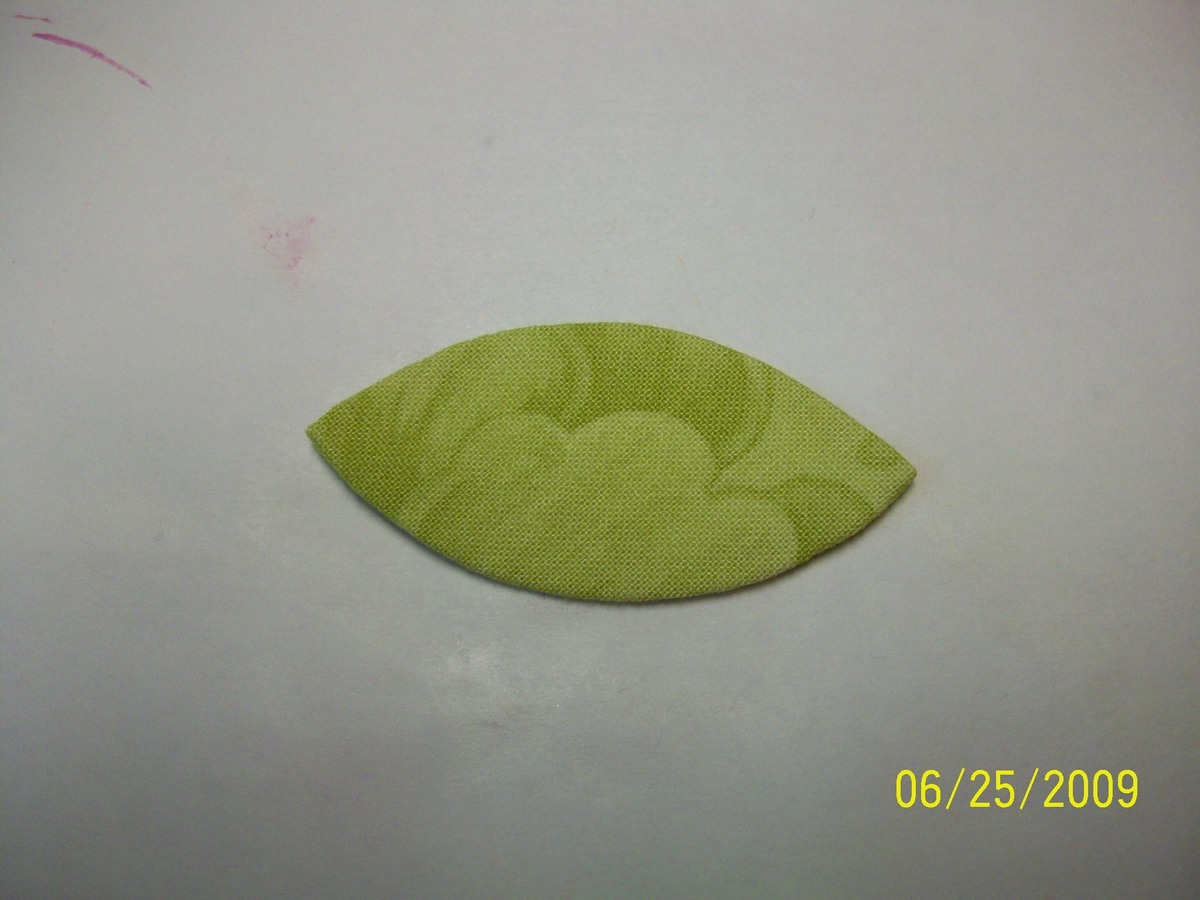
For the leaves, flowers, and heart, I used a templar and starch to prepare the pieces. I also prepared the flowers as units sewing on the 3 pieces that are on top of the main flower shape as Margo and Erin recommend. I used advice from Erin Russek's video and PDF tutorials on her blog
http://erinrussek.typepad.com/one-piece-at-a-time/
I am not having any difficulty sewing through my starched fabric (I use 1/2 solution of Faultless Liquid starch/water or Mary Ellen's Best Press undiluted) using John James Gold 'n Glide needles and I do not use a thimble.
For the circles, I use Sue Garman's techniques. I used a circle template to cut my circles 3/8" larger than the finished size (picking up on Sue's episode 304 that you can cut 4 at a time! -- what a time saver since I made all my circles twice since I was unhappy with my first efforts/colors.), I basted and used Karen Buckley's mylar circles, and used the applique wash-away paper in the center for a crisper edge than batting in the center. Judy


Comment
-
Judy,
Your fabrics are wonderful! And the colors are great! I see an autumn quilt forming here. Very rich! I, too, will be hand sewing. I'll be thinking of you with each stitch!
Dawn
In beautiful Northwest MontanaComment
-
Thanks for all the details of your process, Judy! I love the batting idea to organize small pieces!
It's Not What You Gather, But What You Scatter
That Tells What Kind Of Life You Have Lived !Comment
-
Judy,
Thanks for referencing all the great tutorials. We are rapidly accumulating a great fund of knowledge in our forum, and it is so helpful for someone to keep it all straight for us. May I nominate you to be the official Ruffled Roses librarian?

from the Piedmont of North CarolinaComment
-
I second that motion! I'm glad for the help!
It's Not What You Gather, But What You Scatter
That Tells What Kind Of Life You Have Lived !Comment
-
Judy, I really enjoy your choice of colors for your leaves. I just used that same fabric today, the one with the swirl and the yellow dot, for a stem on a Jo Morton quilt that I am making, Chocolate Mint. Also, is that a black and red check, for berries?
It's Not What You Gather, But What You Scatter
That Tells What Kind Of Life You Have Lived !Comment
-
Great job, Judy! Thanks for taking the time to list the links and tell your process. Margo's classes and webshots are so very valuable.
This block might be overwhelming for some and it really helps to show the various steps along the way. Just take baby steps, and it will get done!
https://bbquiltmaker.blogspot.com
North Alabama, USA
"I am a part of all that I have met" A. Lord TennysonComment
-
BTW...if you missed it the first time around, you might want to go back and review the TQS Episode #408 where Alex demonstrates how she prepares and machine stitches appliques and how to add a "crumb catcher" to the binding of a quilt.
http://watch/watch-shows/video/show-...about-neutrals
It's Not What You Gather, But What You Scatter
That Tells What Kind Of Life You Have Lived !Comment
-
I watched the Sharon Schamber video. I don't know if I want the extra step. I might use it for the leaves since my points usually suck. :evil:
Would the Ricky Tims Stable Stuff be too thick?
from the beautiful Hudson Valley of NY
Gammill Classic Plus w/IQComment
-
Eileen, the Stable Stuff is what I use for my foundations for machine applique, and I love the way I can get my points shaped before I ever start stitching them to the foundation! More info is in the TQS classrooms link: learn/classrooms/
It's Not What You Gather, But What You Scatter
That Tells What Kind Of Life You Have Lived !Comment
-

-
-
-
-
-
-
-
-
-
-
-
-
-
-
-
-
-
-


What's Going On
There are currently 9184 users online. 246 members and 8938 guests.
Most users ever online was 45,077 at 12:30 PM on 02-01-2026.
Working...
Comment