Pins
Pins or Straight Pins are used to hold fabric together at the seam line before sewing. They temporarily hold fabric in place while attaching and cutting patterns and while sewing or pressing. Pins are an essential tool to the sewist. There are many of types of pins, and you may end up having more than one type in your sewing kit. When selecting Pins consider the 5 components of a Pin: head, point, length of the Pin, thickness of the Pin shaft and type of pin head. The thickness and length of the pin shaft, and point are important considerations when matching the pin to the sewing or quilting task task. Good pins, properly used, help match seams and make your points by keeping your pieces from shifting.
Let's review the types of Straight pins used by quilters:
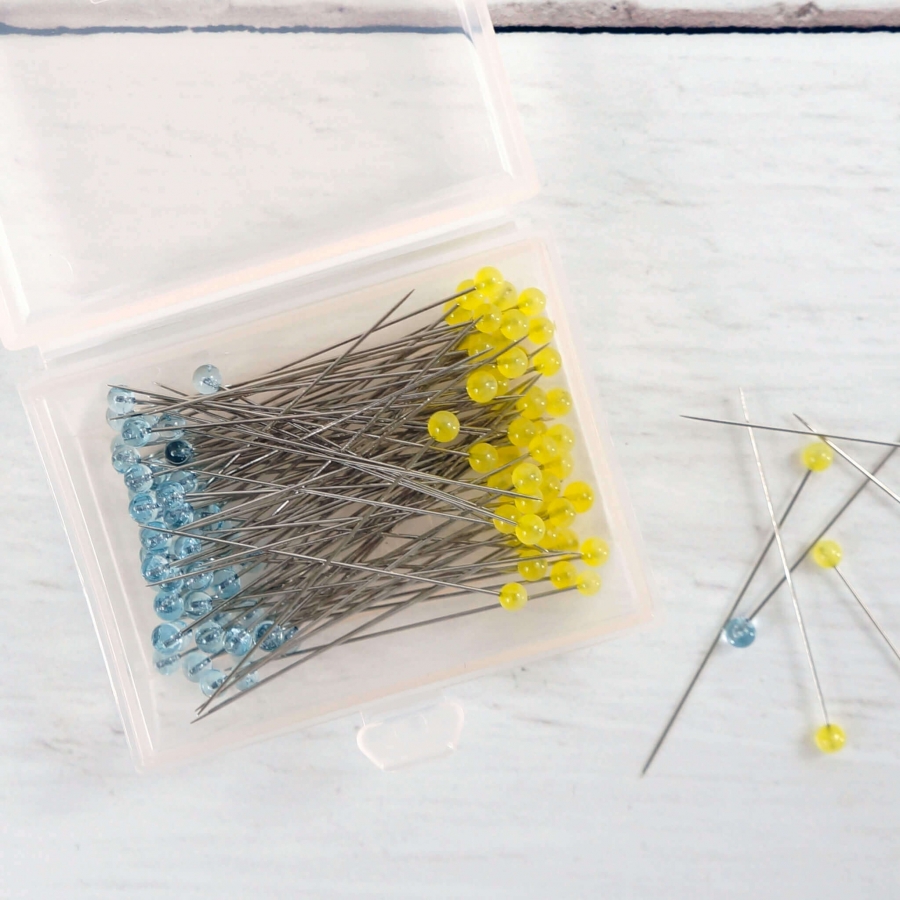
- Glass Head Pins- or Patchwork Pins these pins have a glass ball as the pin head and won't melt when pressing. They are sharp and will pierce multiple layers of fabric. They also are available in extra sharp which are highly recommended. The pins are 1 3/8" to 1 7/8" long and well worth the price.
- Comfort Grip Patchwork Pins- the pin is the same as Glass Head Pins but the head has a heat resistant long grip, making it easier to pick up, especially for arthritic hands.
- Quilting pins- these Old School pins are longer, heavier and intended to go through many layers. They have a plastic yellow ball top which is not heat resistant!
- Applique pins- these are thin, tiny sharp pins with tiny metal heads. They are intended for use with hand applique and trims where larger pins would be awkward to sew around.
- Ball point pins- perfect for sewing with knits, they have a rounded point that easily goes through the knits without breaking threads.
- Fork pins- these pins are intended to be used to match seams by straddling the seam allowance. Also perfect for matching plaids.
- Flat head pins- these pins have a flat plastic decorative head, such as a flower or butterfly and are used for holding many layers together. These pins are not heat resistant! They can also be found with numbers, great for organizing fabrics when cutting or rows and columns when sewing your quilt together.
Benefits of Pins
- Pins really do the heavy lifting for good patchwork piecing.
- Carefull pinning, placing the point in on the seam allowance and out just after the seam allowance, before sewing will keep your fabric from shifting under the presser foot and leaving you with mismatched seams and uneven edges. The smallest shift multiplied across a quilt can leave you with a quilt that is not square, with rows, columns and designs not matching up.
- When joining multiple seams, inserting a pin where the seams are to meet and then pinning will ensure the seams and points match up.
- Consider the type of fabric and sewing technique when choosing the pin for the task.
Supplies and Tools for Pins
- A pincushion is a handy way to keep your Pins in one place or use a different pincushion for each type of pin and needles.
- Magnetic trays- not only do they hold the pins and other notions, but the magnetic tray also self-holds to longarm frame too.
What I wish I Knew When I Started - Pins
Many experienced quilters told me to get the extra fine sharp glass head PINS, as it would improve my piecing. I wish I had paid attention sooner, they really are life changer! If the pin is bending while inserting into a seam - get a thicker pin. Extra Fine Pins are .04mm and you may need a Patchwork Pin that is .05mm thick. If the pin has bent - throw it away! Do not sew over pins and be careful to avoid sewing over the flat pin heads - this can damage your needle or break the pin or needle.


